The Ultimate Guide to 3D Printed Text


Words are great, and they look even better when they’re fully resolved on your 3D printed part!
As with all additively manufactured parts, it is important to design for the desired 3D printing process. We hope that our text test answers any open questions:
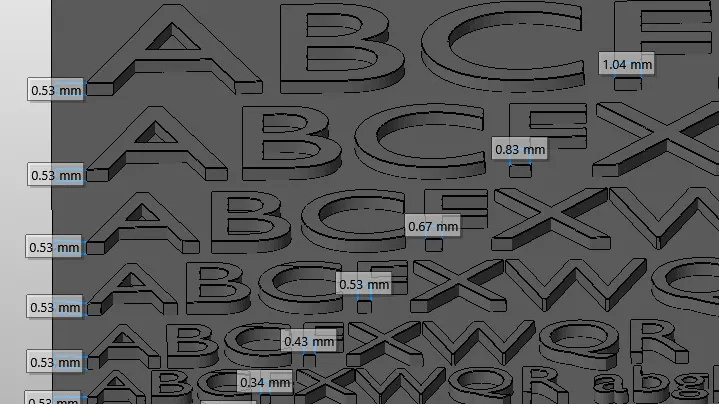
Text adheres to the same 0.6mm wall and gap rules that govern other features for 3D printed parts. With letters that contain knife edges and other acute angles this can become a little tricky.
We went to Thingiverse to find a great file to test the accuracy of printed text in the 3D printing processes used most often in Xometry's 3D printing service: Selective Laser Sintering, Fused Deposition Modeling, and Polyjet. Our text test file was contributed to the Thingiverse by the user GreySamson (http://www.thingiverse.com/thing:383163).
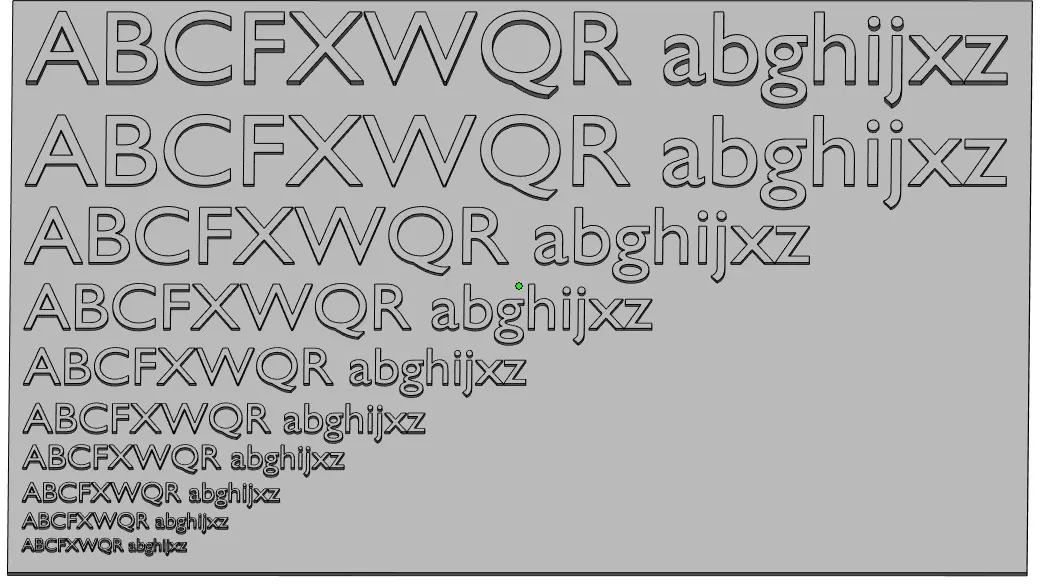
A CAD test part for text with different letter sizes and spacing
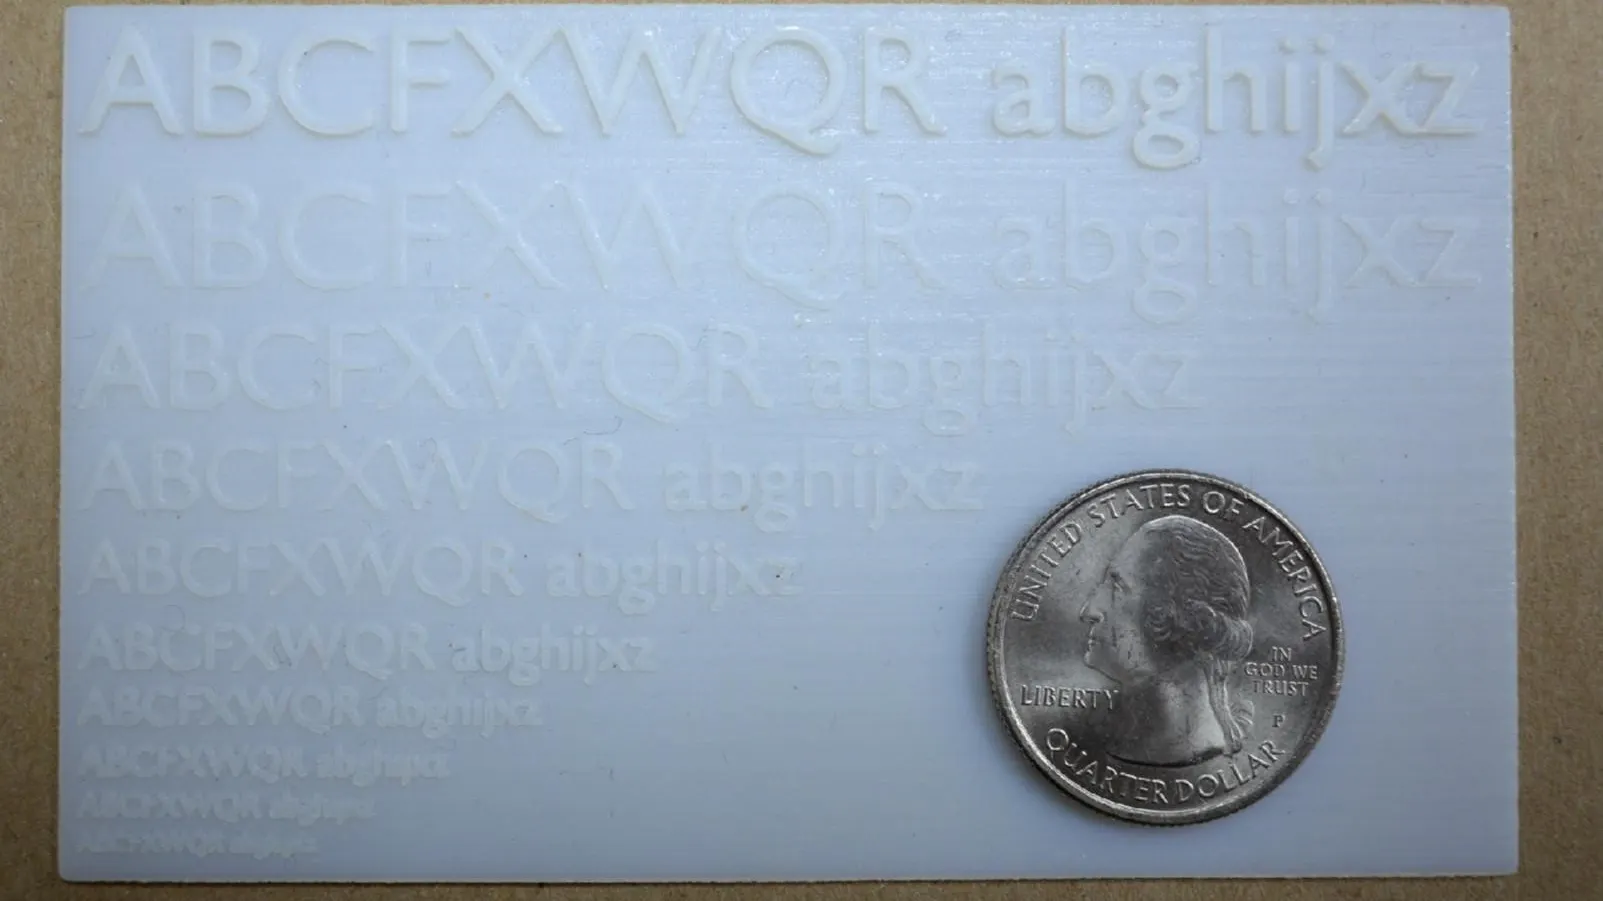
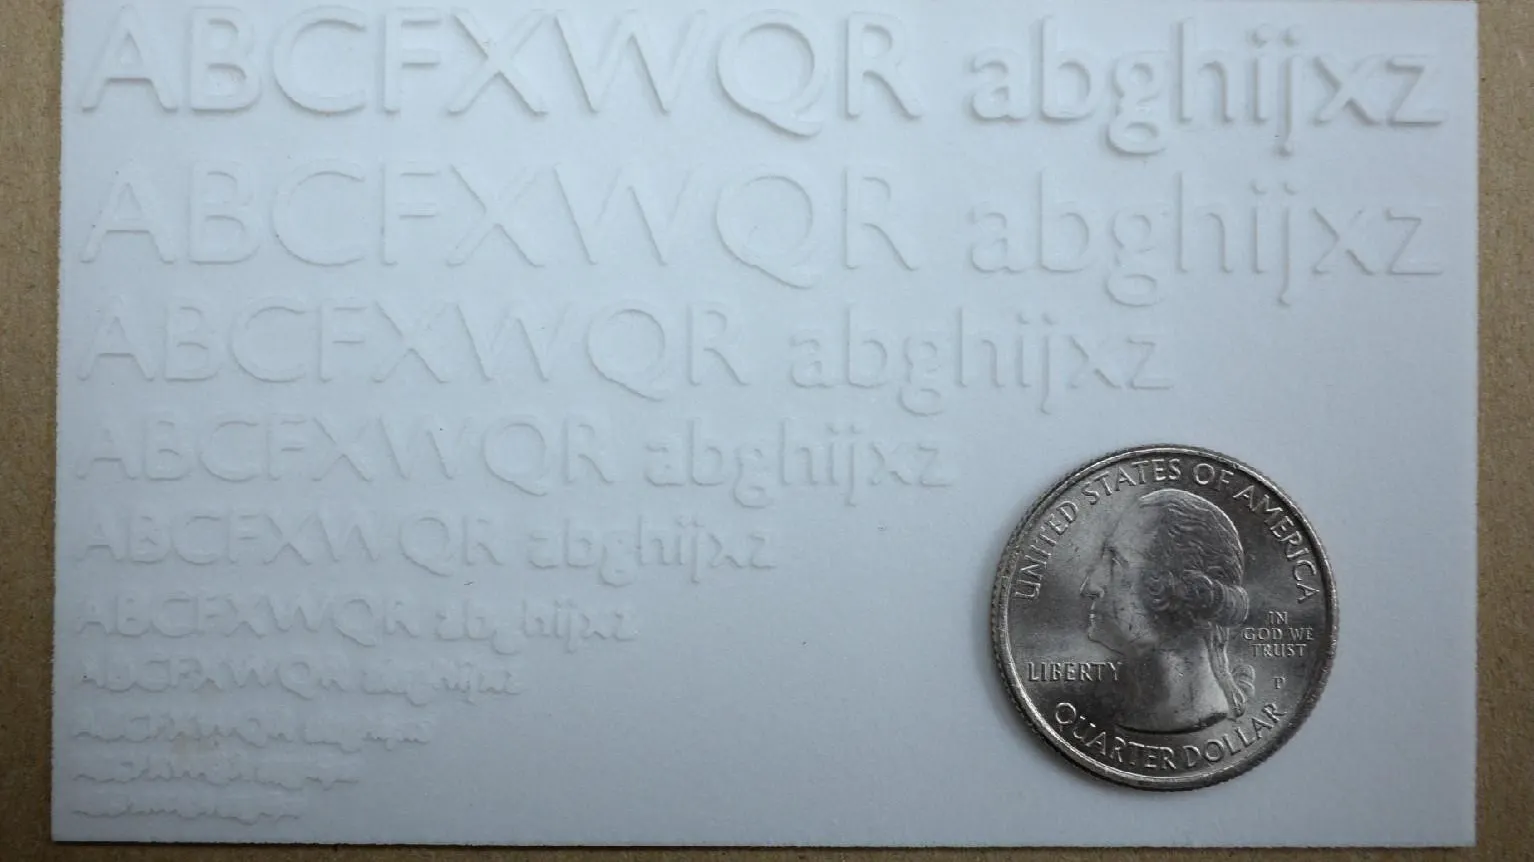
Results of SLS Nylon Text Printing Test
With selective laser sintering, lettering and spacing are clear and crisp down to 0.43mm letter width. After 0.43mm text tends to blend together and stay at ~0.4mm-0.5mm thickness regardless of the smaller font size. Small interior spaces, like the triangle in the letter “A”, will close up as text gets smaller because of radiant heat from sintering. From historic results, we know that SLS has a more crisp edge on upward facing text and more rounded features if the text is on the size or bottom of the part as oriented in the build.
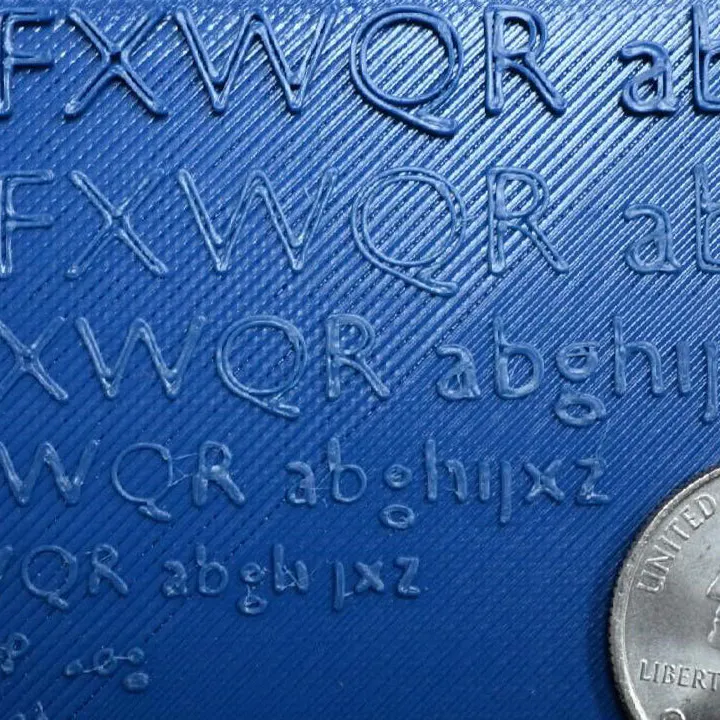
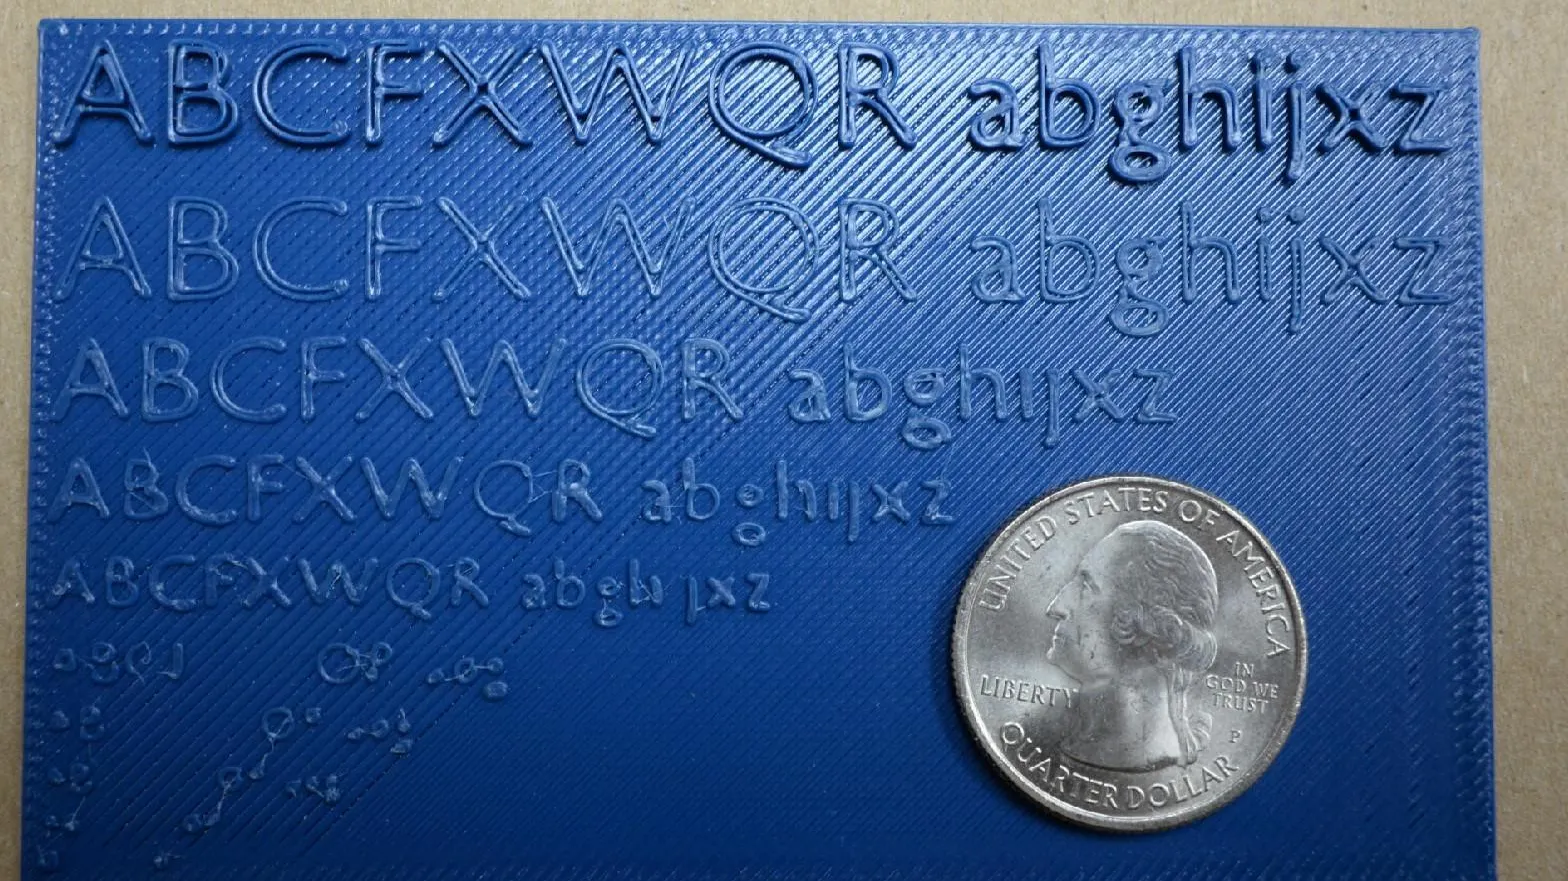
Results of FDM ABS Text Printing Test
Using fused deposition modeling, lettering and spacing are clear and crisp down to 0.83mm letter width. Outer walls of text shown 1.04mm – 0.83mm, but inner area of text not filled. Like our Wicked Cylinder test results, FDM often does not hit small details as well as other processes. We recommend text starting at at least 1.5mm thickness to have a better fill. Text being built on the side of a part should be 1.7 or 2 mm thick to compensate for the Z-layering.
Results of PolyJet Text Printing Test
With PolyJet, text becomes a little bunched together at 0.22mm, but fully resolved throughout the test part. PolyJet tends to have the most true-to-CAD results for small features and text in all directions, regardless of part orientation. Note that small features on text, like the dot on a lower case “i”, should be treated like thin fragile columns. We highly recommend a generous draft (3-5 degrees) when extruding text to ensure features do no break off during handling or post processing.